Sunday, January 29, 2012

Ideas

Have you ever had a million ideas floating around in your head?  I have and do, all the time!  So the only way I know to get them out of my head is to get them down on paper (or in this case, online).  So here is just one of them...


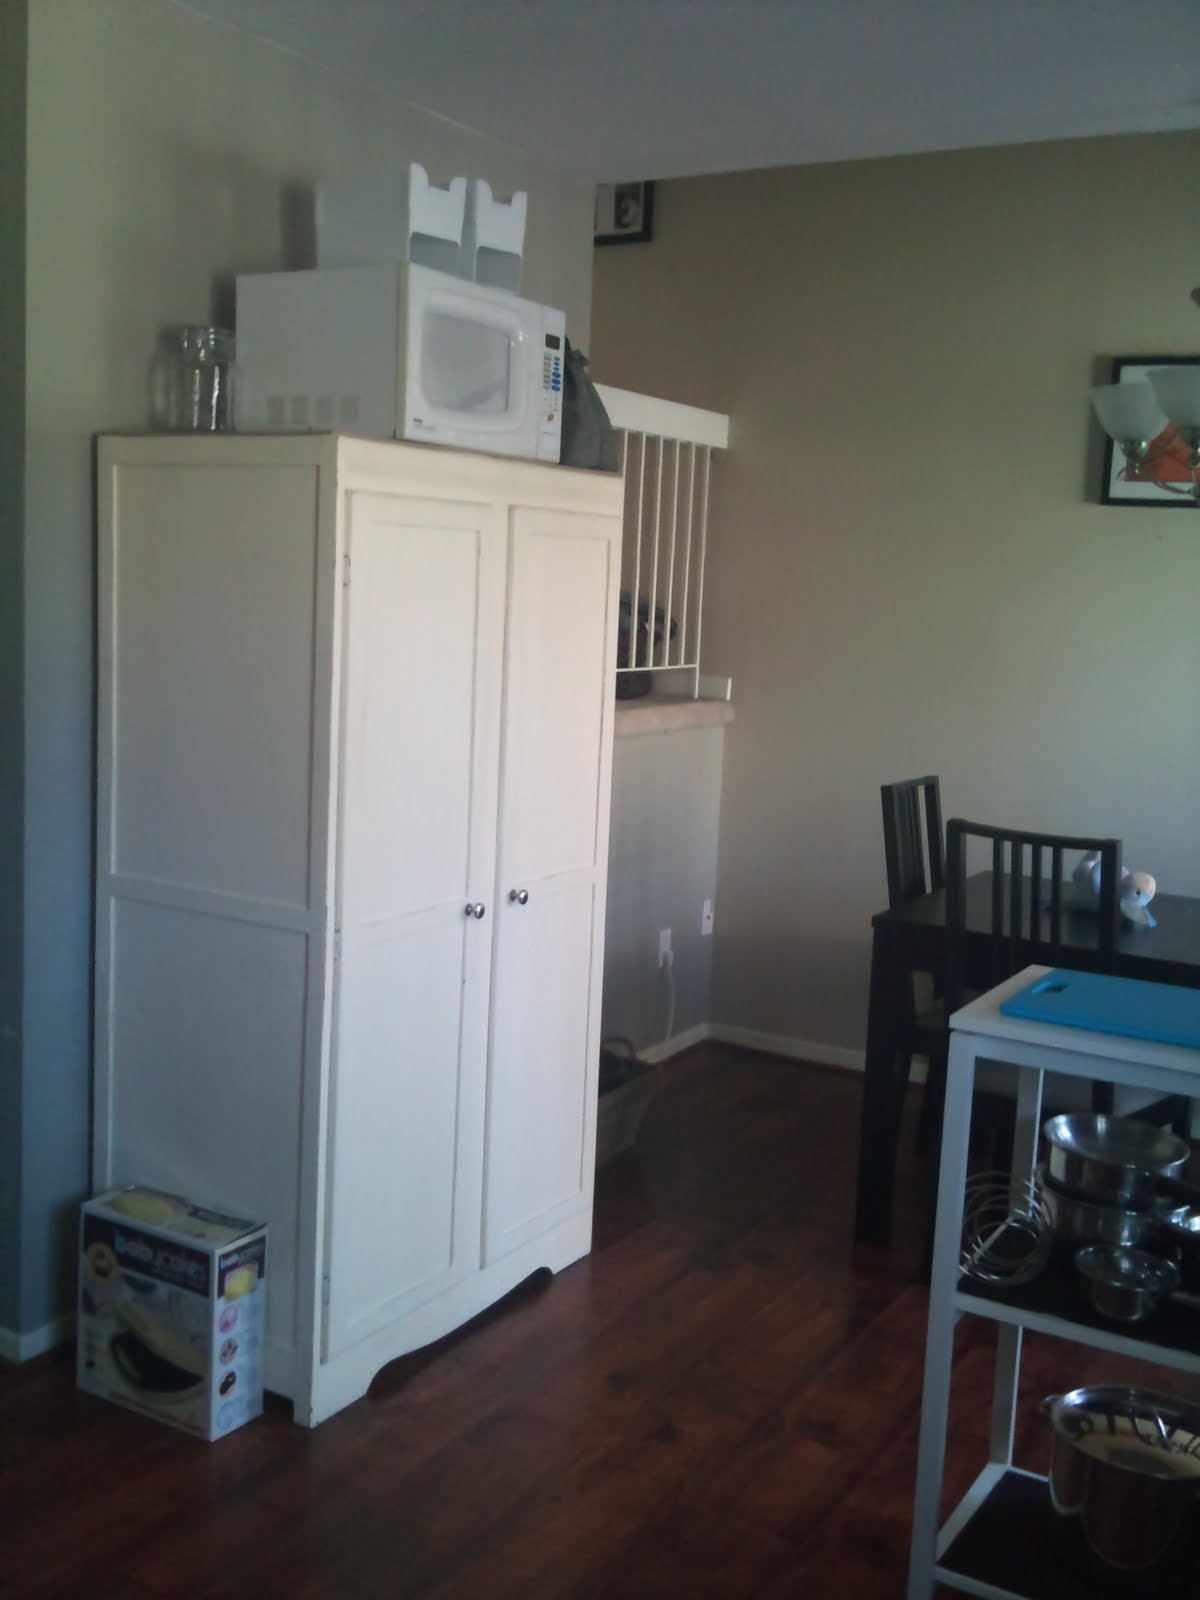
I have a wonderful old cabinet that I had purchased about a year ago for my kitchen which I have been using as a pantry, but now that we are renovating the kitchen, I won't need that cabinet to be used as a pantry any longer.  I want to move it to my family room in the basement to store crafts, puzzles, games, etc.  This is the cabinet in it's current location.


This is how it currently looks on the inside.


I am hoping once we get it into it's new home in the family room, that it will look like this on the inside.  This is a beautifully organized storage cabinet from one of my favourite blogs A Bowl Full of Lemons.


And I was thinking of painting the front inset panels of the doors in chalkboard and/or magnetic paint so that it will look something like this beautiful cupboard from The Inadvertent Farmer.


Well, I can't wait to at least try to make mine look as good as these ones do.  Stay tuned for this and more makeover ideas!

Cheers,
Lisa

Monday, January 23, 2012

Easy Cork Letters

I have always wanted to have letters to hang on the wall in my oldest daughter's room above her bed.  I love the look of the designer wooden letters like these 


but at $16 per letter, I said to myself, "self....there has to be a cheaper way!"


I wanted it to be simple and quick as well as inexpensive, so I decided to take a walk through one of my favourite craft places lately, the dollar store and that is where the plan started to come together.  I decided that cork would be the perfect medium to begin my creation. 


Since my 3 and half year old is into everything "hip hoppy" she calls it, I had to get some inspiration for the design of these letters, so I googled images for funky princess and found these letters as well as the ones above by Rosenberry Rooms...


I loved these, the style was perfect, so the first step was finding a font I liked. I started searching the web for free fonts and downloaded one that caught my eye.  Once it was downloaded I was able to manipulate it however I liked, so I just printed one letter per 8.5 by 11 sheet of paper so that they were a nice size and then each sheet became my template.


From here I used a crafting knife to cut through the paper and the cork.  Remember to use a cutting board or something underneath your cork.


I like the look of the void space in the cork as well, so I may end up using that for something else, but for now I am left with the first letter.


The cork doesn't seem to cut really smooth or it could be that I didn't have the sharpest blade, anyway once it is painted and hung you really can't see the imperfections from a distance.  Once I had all my letters cut out I layed them out to make sure I liked the font and the size.


Not too bad for 30 minutes of work...if I do say so myself.  At this point the project is half finished, now comes the fun part - the painting!  I started by priming them all white.


I let them dry overnight but it wouldn't really be necessary to wait that long.  Then I just took my little artists brushes and my paint and started creating different patterns on each one until I ended up with this...


and this...


and this...


While I was painting my daughter decided that she wanted to help and although I can be picky about these things I felt that I needed to let her express her creativity since they are for her room.  Here are the ones that she did.


Pretty good, I would say!


After all the painting was complete and they were good and dry, I did a dry run of the layout on the wall above her bed by using painters tape and attached them where I wanted them.  Then, since they are so light all I needed to attach them to the wall was 3M Command Poster Strips.
These strips will keep the letters firmly in place, but when we do want to remove them it won't destroy the wall.


Here is the final result...


I love it! 


Here is a breakdown of the cost:


Paper template - free
Cork - 2 packages of 2 sheets from the dollar store $4
Pink, black and white acrylic paint - on sale at Michaels 2 for $1 = $1.50
3M Command Poster Strips - $2.99


Total Project Cost $8.50 


The great thing is that I have lots of paint left as well as the mounting tape, so all I need is some more cork and I can make all the cork letters that I want.


Do you have a simple, inexpensive project you would like to share?  I would love to hear about it.


Cheers,
Lisa